
1. Login to Web Client and Goto vCenter view. Under actions select the option Deploy OVF template.

2. Browse the vCAC appliance package.

3. Verify the details and accept the license.


4. Give a name and select the folder.

5. Select the cluster or host where you want to deploy the vCAC appliance.

6. Select the Storage LUN.

7. Select the vLAN to connect this appliance to.

8. Fill in the details like, Username, Password, IP details etc. Click Finish.

9. After sometime if all goes well you will see the appliance deployed and running.

Configuring the vCAC appliance.
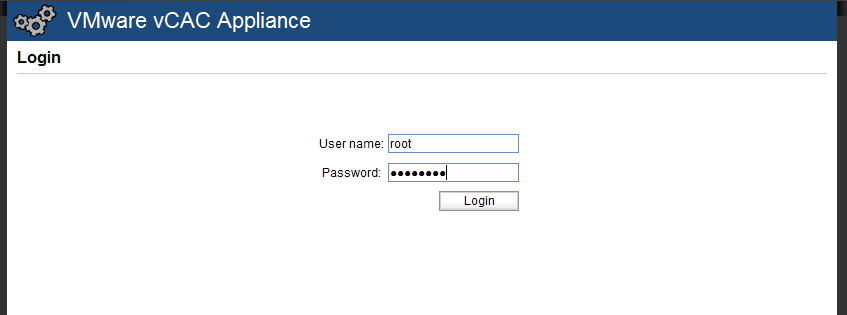
1. Once the appliance is deployed login to it using the IP given in the screenshot above. You should see the below screen. Login using the credentials you gave during installation.
2. Once logged in, Click on vCAC settings and select Host settings --> Enter the vCAC host name click on 'Request Host settings'. Once all green click on Save.

3. Next click on SSL. From drop down select 'Generate Self-Signed Certificate'. Fill in the details and click on 'Replace certificate'.

4. Click on SSO. Enter the Identity Appliance FQDN with 7444 as port number. Click on the Save Settings.

5. Enter the valid license and Submit.

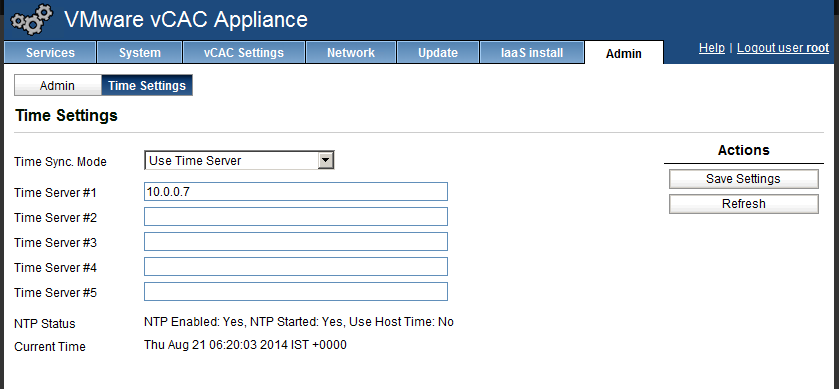
6. Make sure to verify the Time Zone settings. Recommended to use the NTP server.
Note: vSphere Identity Appliance and vCAC must have same time settings else it could give you problems.

2. Browse the vCAC appliance package.
3. Verify the details and accept the license.
4. Give a name and select the folder.
5. Select the cluster or host where you want to deploy the vCAC appliance.
6. Select the Storage LUN.
7. Select the vLAN to connect this appliance to.
8. Fill in the details like, Username, Password, IP details etc. Click Finish.
9. After sometime if all goes well you will see the appliance deployed and running.
Configuring the vCAC appliance.
1. Once the appliance is deployed login to it using the IP given in the screenshot above. You should see the below screen. Login using the credentials you gave during installation.
2. Once logged in, Click on vCAC settings and select Host settings --> Enter the vCAC host name click on 'Request Host settings'. Once all green click on Save.
3. Next click on SSL. From drop down select 'Generate Self-Signed Certificate'. Fill in the details and click on 'Replace certificate'.
4. Click on SSO. Enter the Identity Appliance FQDN with 7444 as port number. Click on the Save Settings.
5. Enter the valid license and Submit.
6. Make sure to verify the Time Zone settings. Recommended to use the NTP server.
Note: vSphere Identity Appliance and vCAC must have same time settings else it could give you problems.
7. Now if you have setup everything correctly then login to vCAC portal page using below URL,
https://<vcac fqdn or IP>/shell-ui-app
And you should see the page like below,
Next: >> Install and Configure IaaS Engine
I have read your article, it is very informative and helpful for me.I admire the valuable information you offer in your articles. Thanks for posting it.. Viking Appliance Repair in Los Angeles
ReplyDeleteWow what a great blog, i really enjoyed reading this, good luck in your work. Gestión de procesos de negocio
ReplyDelete